Easy Apple Crisp Recipe with Oat Crumble Topping
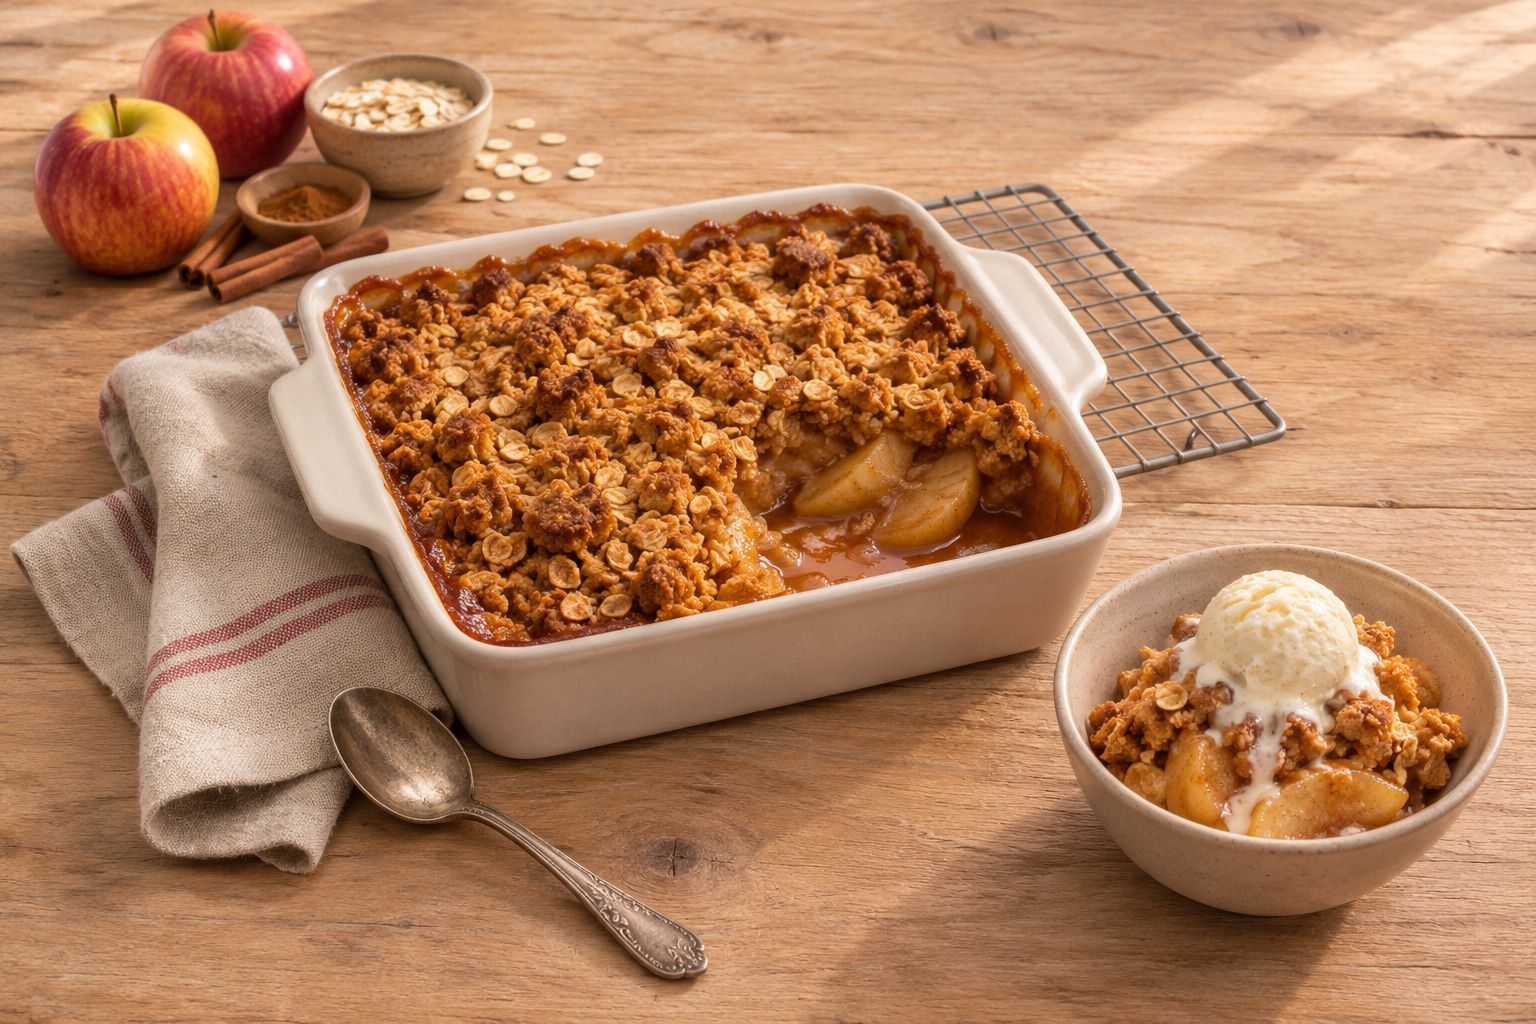
Tender cinnamon apples baked under a crunchy brown sugar oat crumble. Simple pantry ingredients, one dish, and a thick, jammy filling every time.

- Prep
- 20 min
- Cook
- 45 min
- Rest
- 15 min
- Total
- 1 hr 20 min
- Serves
- 8
When the apples pile up on the counter, this easy apple crisp recipe is where we always turn. Thin slices of firm apples get a light coating of brown sugar, flour and warm spices, then disappear under a buttery oat crumble that bakes up golden and crunchy.
We love how the juices thicken into a glossy, jammy sauce around soft, tender apples. Cold butter rubbed into the topping gives you those crisp little clusters everyone reaches for first.
It all comes together in one baking dish with ingredients you probably already have. Serve it warm with a scoop of vanilla ice cream or a spoonful of whipped cream, and don't skip the short rest so every scoop holds together.
How We Developed This Recipe
- The five versions we compared agree on the basics: sliced apples tossed with sugar, a little flour and cinnamon, then covered with a buttery oat crumble and baked at 350°F to 375°F for 35 to 50 minutes. They differ on the topping, using cold cubed butter, softened butter, or baking powder for lift, and on the filling, using either a dry sugar-and-flour coating or a melted butter sauce. We went with a dry coating, cold butter rubbed into the crumble, and 375°F because that gives a crunchy, golden top and a thick, jammy filling with the fewest steps.
Why You’ll Love It
- Simple pantry ingredients and one baking dish
- Crunchy oat and brown sugar crumble over soft, cinnamon-spiced apples
- A dry flour-and-sugar coating thickens the juices so the filling never turns soupy
- Easy to make ahead, and leftovers reheat well
Ingredient Notes & Swaps
- Apples
- Use firm apples that hold their shape, like Granny Smith, Honeycrisp, Braeburn or Pink Lady. A mix of tart and sweet apples gives the best flavor. Soft apples like Red Delicious turn mushy.
- Old-fashioned oats
- Rolled oats give the topping its chewy, crunchy texture. Quick oats work in a pinch but bake up softer and a bit pasty. Skip steel-cut oats, which stay hard.
- Cold butter
- Keep the butter cold and in small cubes. As it melts in the oven it creates little crisp pockets in the crumble instead of a greasy, flat layer.
- Brown sugar
- Light or dark brown sugar both work. Dark gives a deeper, more caramel-like flavor.
- Lemon juice
- A little lemon keeps the apples bright and balances the sweetness. It also slows browning while you slice.
Tips for Success
- Watery filling usually means underbaking or very juicy apples. Bake until the juices bubble thickly at the edges, not just at the center, and give it the full 15-minute rest before scooping.
- A soggy or greasy topping comes from soft or melted butter. Keep the butter cold, stop mixing once you see pea-sized clumps, and cover the apples all the way to the edges.
- Mix tart and sweet apples for the best flavor, and stick to firm varieties so the slices stay tender but not mushy.
- Slice the apples no thicker than 1/4 inch so they soften in the same time it takes the topping to turn golden.
- Baking on a rimmed sheet pan saves you from scrubbing burnt juices off the oven floor.
Variations
- Nutty crumble: Stir 1/2 cup chopped pecans or walnuts into the topping after working in the butter.
- Apple-pear crisp: Swap 1 pound of the apples for firm, ripe pears.
- Gluten-free: Use a 1:1 gluten-free flour blend in both the filling and topping, and choose oats labeled gluten-free.
- Cranberry apple: Toss 1 cup fresh or frozen cranberries in with the apples and add 2 extra tablespoons brown sugar to the filling.
Storage & Reheating
- Room temperature
- Cover loosely and keep at room temperature for up to 1 day.
- Fridge
- Cover tightly and refrigerate for 3 to 4 days.
- Freezer
- Cool completely, wrap the dish or portions well, and freeze for up to 3 months. Thaw overnight in the fridge before reheating.
- Reheat
- Warm in a 350°F oven for 15 to 20 minutes, until hot all the way through (165°F) and the topping crisps again. The microwave works for single servings, but the topping will be softer.
Frequently Asked Questions
What are the best apples for apple crisp?
Firm apples that hold their shape work best, such as Granny Smith, Honeycrisp, Braeburn, Pink Lady or Jonagold. We like a mix of tart and sweet for the most balanced flavor.
Do I need to peel the apples before making apple crisp?
No, it is up to you. Peeled apples give the softest, smoothest filling, while unpeeled slices add a little color and texture and save time.
Can I use quick oats instead of old-fashioned oats?
Yes, but the topping will be softer and less chunky. Old-fashioned rolled oats give the best crunch.
How do I keep the apple crisp topping crunchy?
Use cold butter, bake until the top is deep golden, and store leftovers loosely covered. Reheating in the oven instead of the microwave brings the crunch back.
Can I make apple crisp ahead of time?
Yes. You can assemble it, cover, and refrigerate for up to 1 day, then add 5 to 10 minutes to the bake time. You can also bake it a day ahead and rewarm it in a 350°F oven.
Recipe
Easy Apple Crisp Recipe with Oat Crumble Topping
Prep 20 minCook 45 minRest 15 minTotal 1 hr 20 minYield 8 servings (one 9-inch crisp)
Ingredients
Apple Filling
Oat Crumble Topping
For Serving
Equipment9-inch square baking dish or 2 1/2- to 3-quart baking dish · Vegetable peeler · Chef's knife and cutting board · Large and medium mixing bowls · Pastry blender or fork (optional) · Rimmed baking sheet · Wire rack
Instructions
- Heat the oven and butter the dishSet a rack in the center of the oven and preheat to 375°F. Lightly butter a 9-inch square baking dish or a 2 1/2- to 3-quart baking dish.Tip: Set the dish on a rimmed baking sheet later to catch any bubbling juices.
- Slice the applesPeel, core and slice the apples about 1/4 inch thick. Add them to a large bowl and toss with the lemon juice. You should have about 9 cups of slices.Tip: Even slices bake evenly, so no hard pieces hide under the topping.
- Season the fillingIn a small bowl, stir together 1/3 cup brown sugar, 2 tablespoons flour, 1 teaspoon cinnamon, the nutmeg and a pinch of salt. Sprinkle it over the apples, add the vanilla, and toss until every slice is lightly coated. Spread the apples in the prepared dish in an even layer.
- Mix the dry toppingIn a medium bowl, whisk together 3/4 cup flour, the oats, 2/3 cup brown sugar, 1/2 teaspoon cinnamon and 1/4 teaspoon salt until no lumps of sugar remain.
- Work in the cold butterAdd the cold butter cubes. Use your fingertips, a pastry blender or a fork to work the butter into the dry mix until it looks like damp sand with plenty of pea-sized clumps.Tip: If the butter starts to feel soft and greasy, pop the bowl in the fridge for 10 minutes before topping the apples.
- Top the applesScatter the crumble evenly over the apples, pressing a few clumps together with your fingers so you get some bigger crunchy pieces. Cover the fruit all the way to the edges.
- Bake until bubblingBake for 40 to 50 minutes, until the topping is deep golden brown, the juices are thick and bubbling around the edges, and a knife slides easily into the apples.Tip: If the top browns before the apples are tender, lay a sheet of foil loosely over the dish for the last 10 minutes.
- Cool and serveLet the crisp cool on a wire rack for at least 15 minutes so the juices can thicken. Serve warm with vanilla ice cream or whipped cream, if you like.
Notes
- Not sure if it's done? Look for thick, glossy juices bubbling at the edges and a knife that slides into the apples with no resistance.
- The crisp firms up as it cools, so it scoops more neatly after resting 15 to 30 minutes.
Nutrition (per serving, estimated)
- Calories
- 370
- Protein
- 3 g
- Carbs
- 63 g
- Fat
- 12 g
Saturated fat 7 g · Fiber 4 g · Sugar 42 g · Sodium 85 mg · Cholesterol 30 mg

About the author
Caroline Webb
Caroline Webb writes desserts and baking: cookies, quick breads, bars and no-bake treats. Her recipes explain why each step matters and how to tell when a bake is done.
More recipes by Caroline